How to Easily Create a Website with WordPress
Today, I am going to show you how to easily create a professional and outstanding website, using WordPress.
What you don’t need
- You do not need to pay thousands of dollars
- You do not need to have any technical background in web design and programming
What you will need
- A domain name, or a website address
- A web hosting server
- An hour of your time
Let’s get started. You will need roughly 1 hour for the following steps.
Step 1: Register a domain name and get web hosting from iPage
If you do not already have a domain name and web hosting, then you need to get both of these as they are a must. A domain name is your address on the Internet. It is what you type into your web browser to get to your website.
Example popular domain names in Malaysia are:
- Lelong.com.my
- Lazada.com.my
- Maybank2u.com.my
- Thestar.com.my
The web hosting is where all your website’s data (content, images, videos and other related information) are stored. So, make sure you get a web hosting service from a good web host, otherwise you will have a lot of problems down the road.
I highly recommend getting both the domain name and web hosting from iPage. The benefit of registering both with the same company is that it will save you the hassle of changing the name servers, and the hassle when come to renewing time.
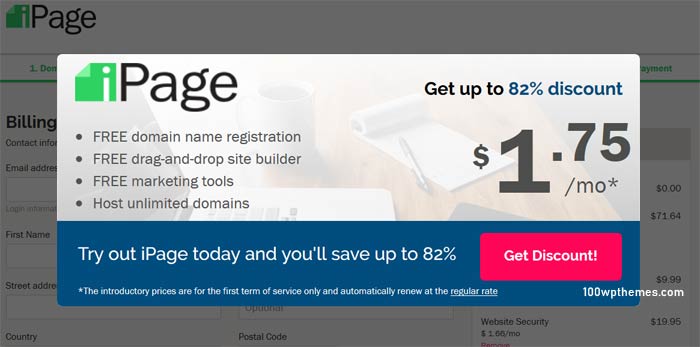
iPage 75% Discount, and a FREE Domain Name.
If you thought this is the best deal, then keep reading, I will let you know the best coupon code for iPage, giving you up to 82% discount!
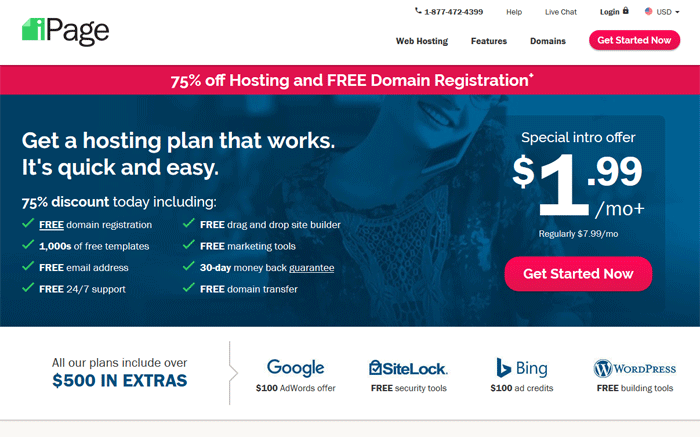
- Go to iPage website.
- Click on “Get Started Now”.
- In the box “Search for a domain name”, enter your desired domain name. This can be a new domain name which you want to register, or an existing domain which you own and want to use or transfer. What is great with this web host is that your domain name is FREE for 1 year. Use the search function to search for an available domain name.
- Click on “Next, choose my term”.
- Choose which term is best for you. Note, the longer is your term, the cheaper it is. I recommend 3 Years term for the massive savings.
- Click on “Next, customize my plan”.
- Uncheck all the Additional Products which are not necessary, such as the Domain Privacy, Website Security, and Website Backup Basic. Of course, these are optional, you can leave them checked if you want.
- Enter all the information in the form. Click on “Purchase Now”.
Step 2: Check your email
You will receive an email from iPage with all the details about your domain name and web hosting, this includes your login and password details.
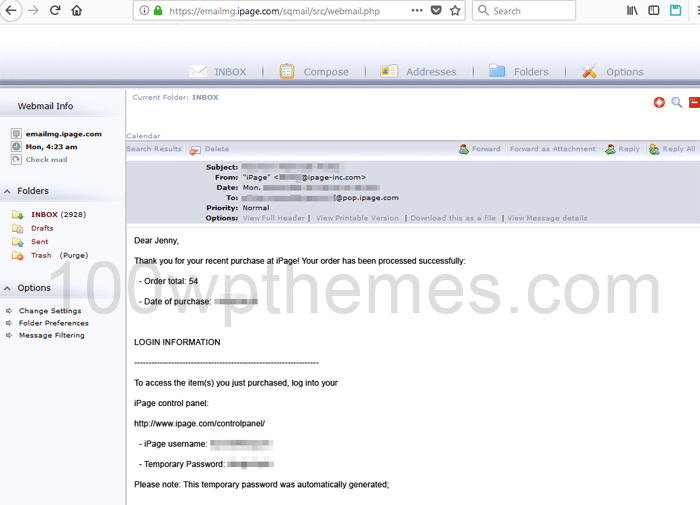
Look for a similar email from iPage in your email account.
Make a note of these details, which you will need in step 3.
Step 3: Login to your website control panel
- In the email from iPage, click on the link which says “Your control panel”, or simply navigate to https://www.ipage.com/controlpanel/
- Login with the Username, and Password which you got from the email

iPage control panel, a full view. You should see something like this after you have logged in successfully.
Step 4: Install WordPress
There are many website builders which will help you to build a website. However, I highly recommend WordPress as it is very easy to setup, easy to customize and very much features rich. WordPress is the ideal option for someone who’s creating his or her first website. But, it is also great for experienced webmasters.
Large websites such as TIME Magazine, CNN, TED, TechCrunch, NBC and others use WordPress to server millions of users each day!
- Make sure you are logged in to the control panel.
- Click on the “WordPress” icon, under the “Website” section.
- In the Domain drop down, select your domain name (this could be the one you have just registered).
- In the Directory box, you can optionally enter a directory where the software will be installed. I recommend leaving this blank, so that your new website will appear at the root of the domain name, without the need to enter the directory.
- Click on “Next”.
- After a couple of minutes, you will see the “Admin Information” page. In the “Site Name or Title” box, enter a title for your website. Make changes to the rest of the information where necessary. Click on “Next”.
- Wait for a couple of minutes, after which you will see “Installation Complete – Continue browsing the marketplace or view credentials here”. Click on “here” to complete this step.
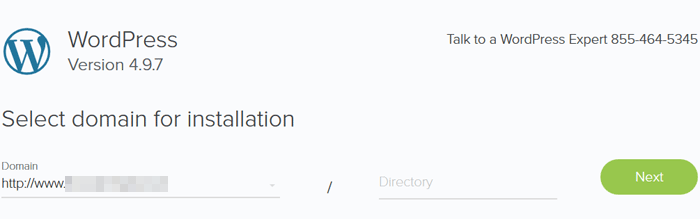
Installing WordPress. Select your new domain name from the drop down and click on “Next” to continue. Setting up WordPress is easy with this installer.
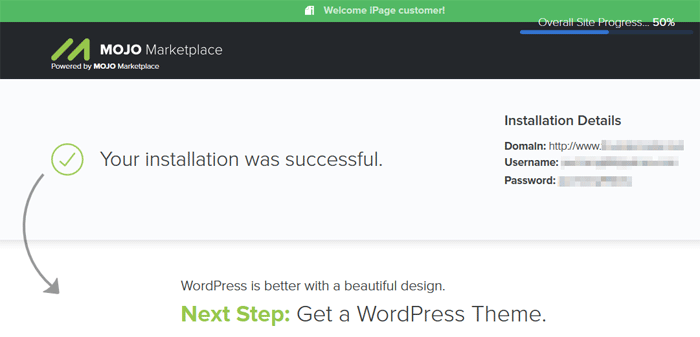
I have that iPage has partnered with Mojo Marketplace to promote their services so aggressively. But, it’s OK, just ignore those messages from Mojo Marketplace.
Well done, now you have successfully installed WordPress, and created your first WordPress website! Go to your new website and have a look… How do you ask? Enter your new domain name into your web browser.
Your new website may not look appealing now. Don’t worry, we will fix this later.
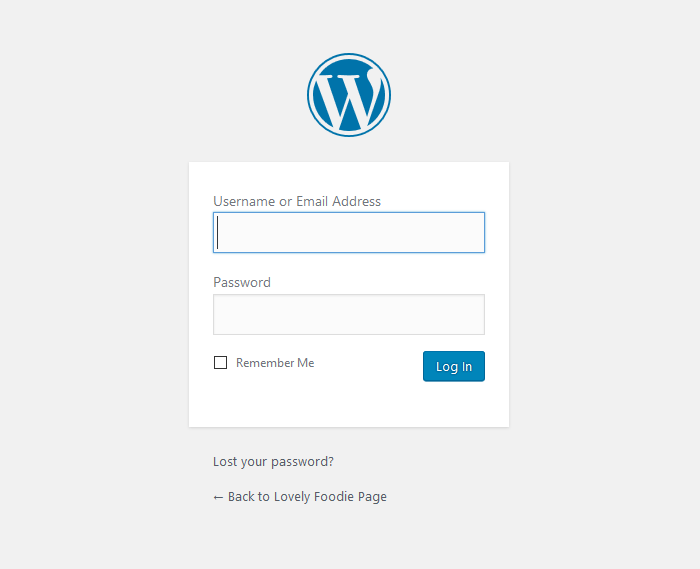
Step 5: Log into WordPress
You can now head over to the WordPress login page. Your login URL will look like this:
http://www.yourdomain.com/wp-admin
Use the admin username and password you entered earlier to login.
Once you have logged into the admin area, you will land on the Dashboard. It looks like the following.
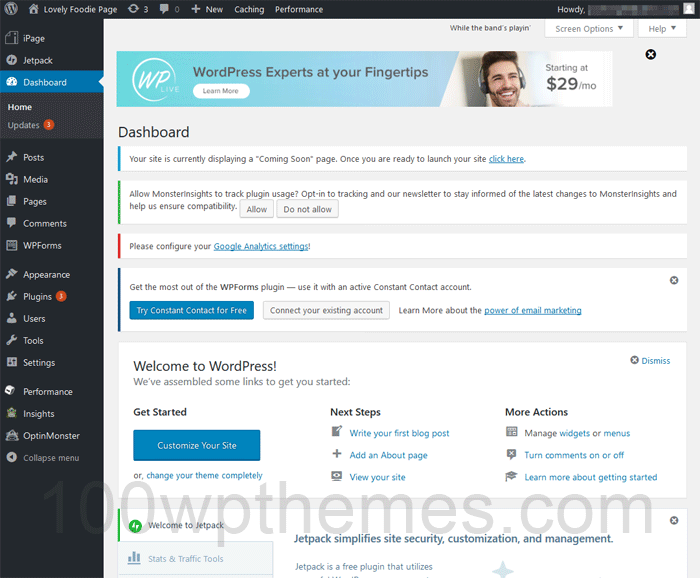
Now let’s move on to the next step and choose a design for your website.
Step 6: Select a theme
Now, when you visit your website, it will look like the following because it is setup with the default WordPress theme. All WordPress sites, when newly installed will have the default theme.
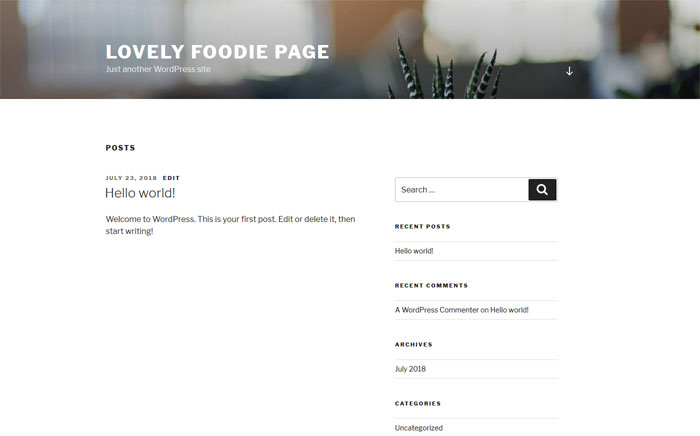
The appearance of your WordPress site is controlled by a WordPress theme. This is basically a pre-designed template that you personalize with your own text, photos and videos. It’s much easier than starting from scratch, since you get to follow a template on where each photo, paragraph or feature should go.
There are thousands of free and paid WordPress themes that you can install on your website. One highly recommended WordPress theme designer is Elegant Themes. I don’t like making you spend money if it is not necessary. For this tutorial, it is not necessary, but if you are serious on creating a professional website, then please check out Elegant Themes, especially their Divi theme.
Divi’s features at a glance:
- Great flexibility and customization options that are very easy to use
- Frequently updated
- Search engine friendly
- Fully responsive (mobile devices friendly)
- Everything in a single package without requiring plugins
- Fantastic technical support
Before we continue, let’s close all those annoying messages from Mojo Marketplace. Click on the “x” buttons to dismiss them. For example, in the box “Get More Email Subscribers with OptinMonster”, click on the “x” to dismiss it.
In the box “Allow MonsterInsights to track plugin usage? Opt-in to tracking and our newsletter to stay informed of the latest changes to MonsterInsights and help us ensure compatibility.”, click on “Do not allow” to dismiss it for now.
Now the Dashboard should look clean and less cluttered.
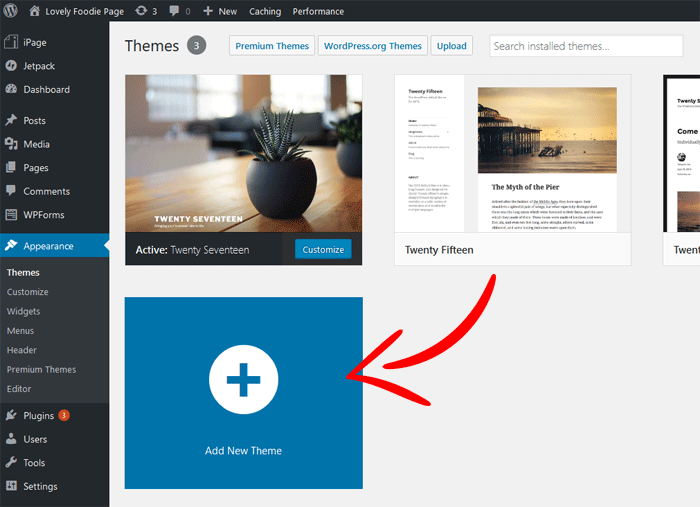
You can change your website’s default theme from the WordPress admin dashboard.
- Click on Appearance > Themes
Here, you will see all the WordPress themes you have currently installed.
- Click on “Add New Theme”
On the next page, you will see a huge list of free themes that are available in the official WordPress themes directory. You can sort them by Featured, Popular, Latest, Favorites, Premium, and “Feature Filter”. You can also simply enter a keyword and do a search.
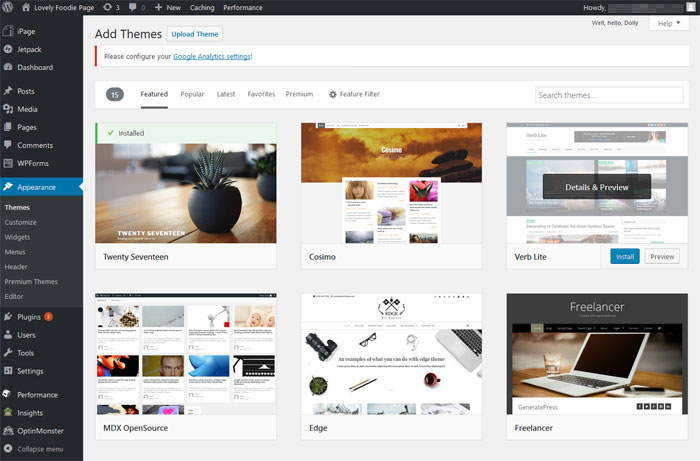
You can use the “Feature Filter” to look for a theme which you have in mind. For example, you can search for “E-commerce” themes which have “Two columns”. Simply check those tags and press the “Apply Filters” button.
Hover over any of the theme and you will see two options – to see a demo of the theme or to install it. Once you choose which theme you want to use for your site, click on the “Install” button.
For the sake of this tutorial, we will be using the “Customify” theme. This is a fast, lightweight, responsive and flexible multipurpose theme built with SEO, speed, and usability in mind.
- Key in “customify” in the search field. After that, click on the blue “Install” button. WordPress will download and install the theme for you.

- Click on the “Activate” button on the same page to activate the theme. Now, can go to the front page of your site to see its new look!
Ok, it may not be very appealing as well. Doesn’t matter, we will make it more appealing. I promise. - Click on Appearance > Customify Options
- Under the heading “Customify ready to import sites”, click on “Install Now”.
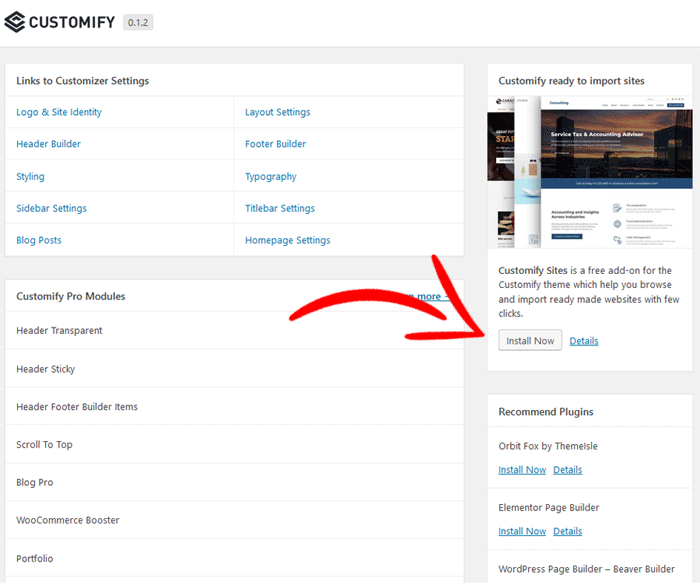
- Click on the blue “Activate” button.
- Click on “View Site Library”.
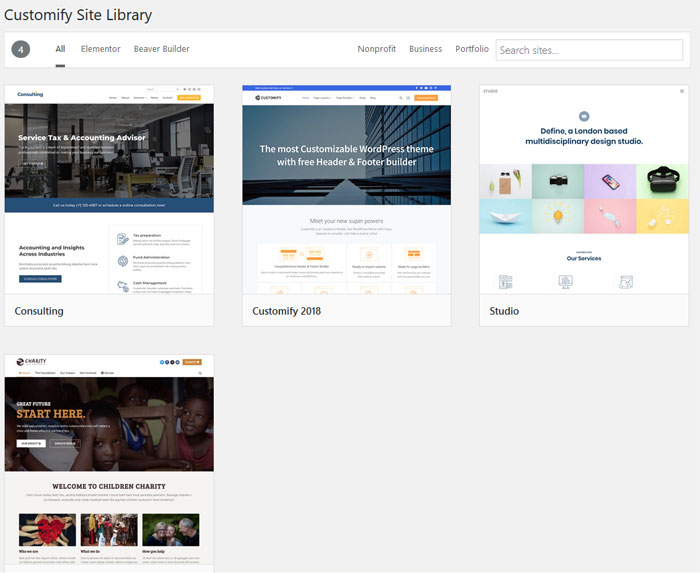
Here, you will see four pre-made websites from Customify. Instead of starting the website from scratch, you can import one of these pre-made websites and customize them in your own way.
Which website design do you like? For this tutorial, let’s use the “Consulting” design.
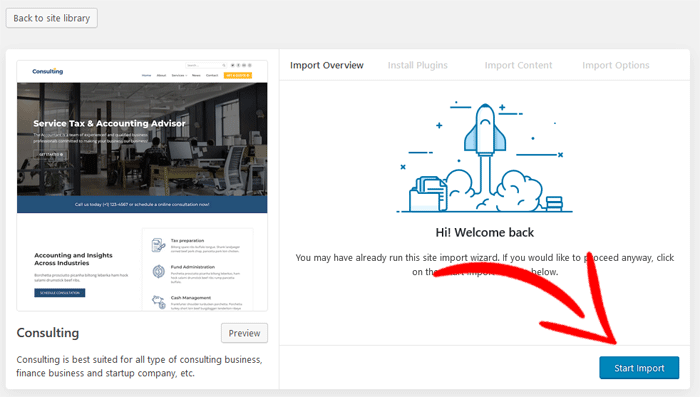
- Hover your mouse over the “Consulting” pre-made website, and click on “Details”.
- Click on the “Start Import” button.
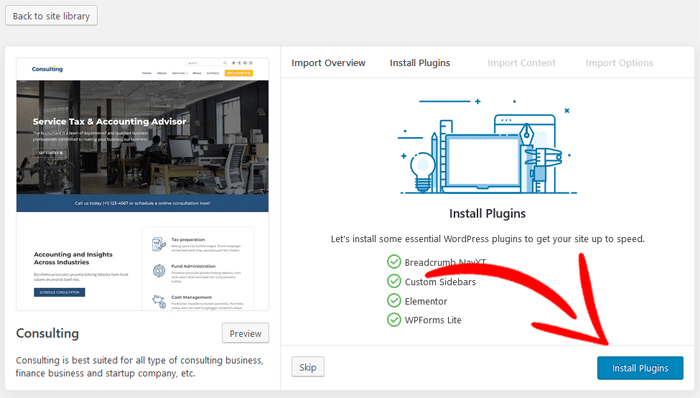
- Click on “Install Plugins”. These plugins are essential for this theme to work properly.
- Click on “Import Content”, on the next page.
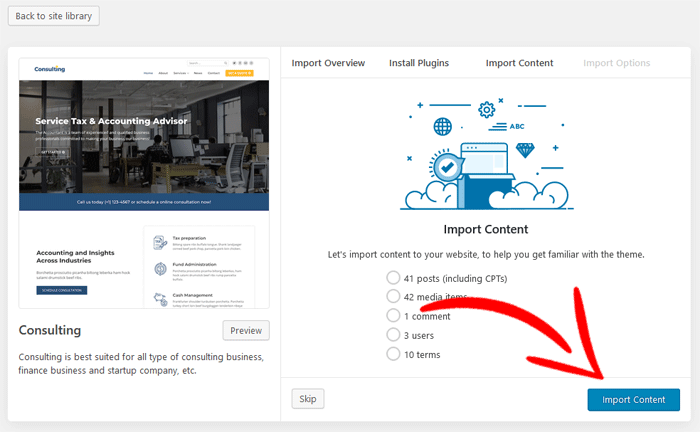
The importing process may take a short while, perhaps a minute or two.
- Click on “Import Options”. This step will import the theme options, menus and widgets.

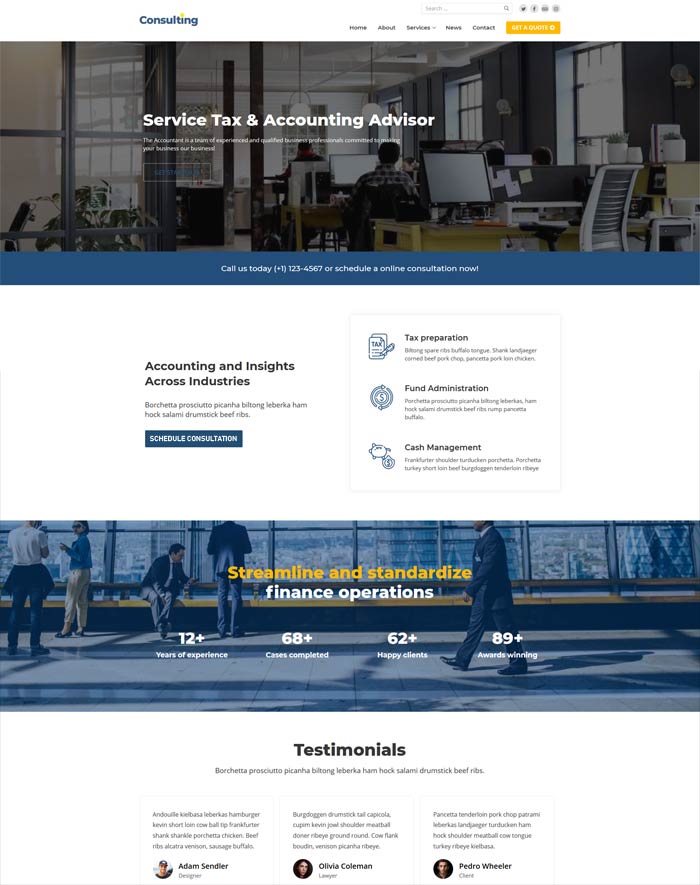
That’s it! You can now check out your new website, which should look absolutely great and professionally designed.
The homepage lists your services, testimonials and contact details at a glance. The professional design will surely catch your visitor’s attention. The about us section is perfect to let your potential clients know that you are serious in your business. And if they have any questions, contact page allows them to get in touch with you. Oh, the “Get a quote” feature will be very handy too… you just need to link it to a working function!
Don’t forget the services pages, which list down all your services in details.
Step 7: Customizing and tweaking your website
You have setup WordPress on your newly registered domain name, installed a great looking theme, and imported a pre-made design with sample content. You can now customize and tweak it to your liking. Most crucial parts of the website is found in the “Pages” section.
- On your Dashboard, click on “Pages”. You should see a list of pages such as the following.
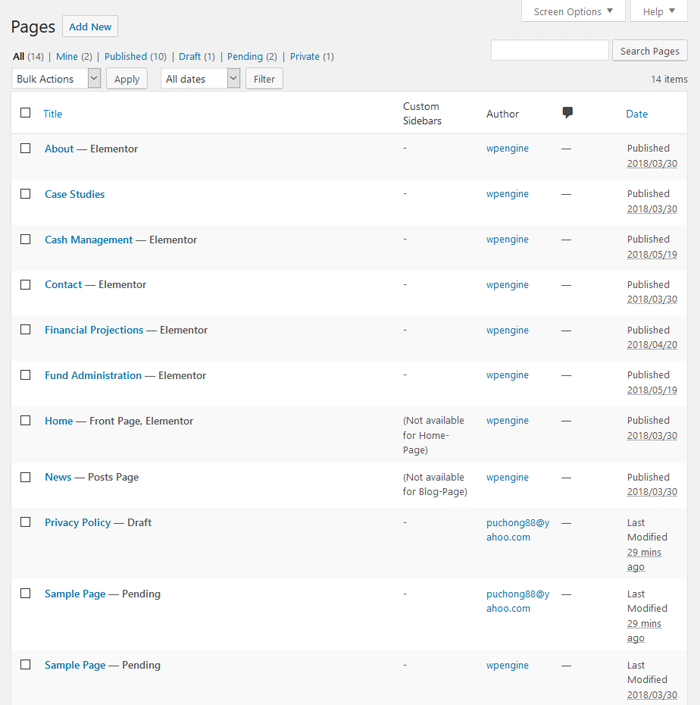
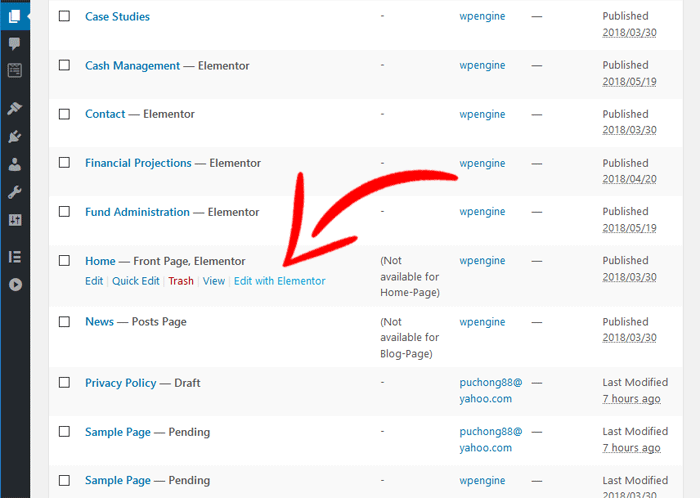
- To change the homepage, hover your mouse over “Home — Front Page, Elementor”, and then click on “Edit with Elementor”.
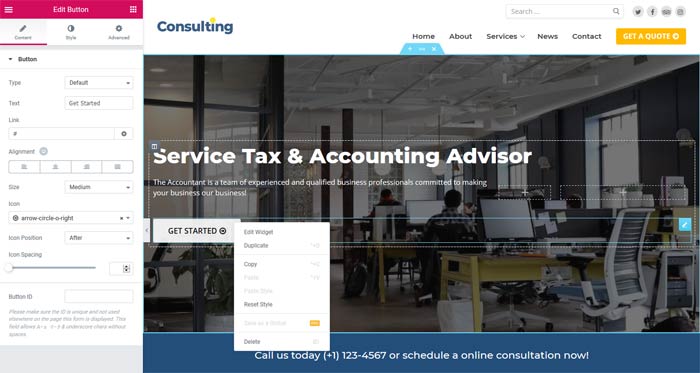
- Examine the live page builder. You can now customize your newly built website easily through this builder. Since it is so intuitive, you will find customizing this website is so easy and quick.
- Once you can done editing, click on the “Update” button.
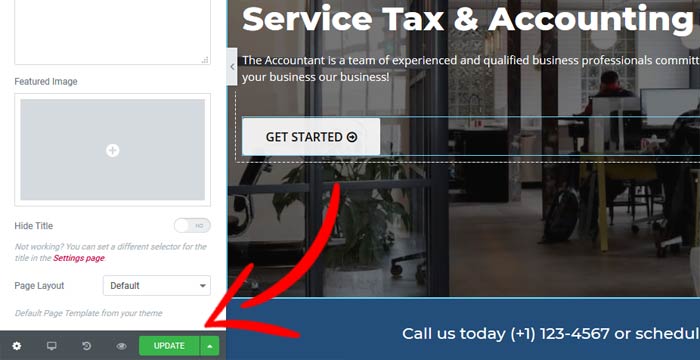
Of course, you can customize the other pages easily through the same way, which you have just done. Remember to hit the “Update” button when you have done making customization.
For the sake of keeping this tutorial compact and short, we will leave the details of this page builder to another future post.
Step 8: Promote your WordPress website
Congratulations, you have done creating your first website using WordPress. Just because your website is up and running, doesn’t mean people will find it. Create a marketing plan to reach your target audience. There are many free and cost effective ways to promote a website. We may discuss these in a future post.
Conclusion
I have showed you a few simple steps to be followed to create your first website with WordPress. To make your website more interesting you can use a professional theme, and install various WordPress plugins, such as those from Elegant Themes.
Creating a website using WordPress is fun once you know the basic.
If you have followed my steps above, you will agree that it is so easy. On top of that, WordPress also provides all the options to maintain and manage your website.
Good luck, and happy creating more websites with WordPress!
Best iPage Discount 2018
Oh, I nearly forgot. The best iPage discount at 82% off.